It is very important to have a personal website to show your work.
OK, but what do I publish on my website because I don’t have anything important to share. And, I am not a good writer. If you feel like this, please read this from Derek Sivers.
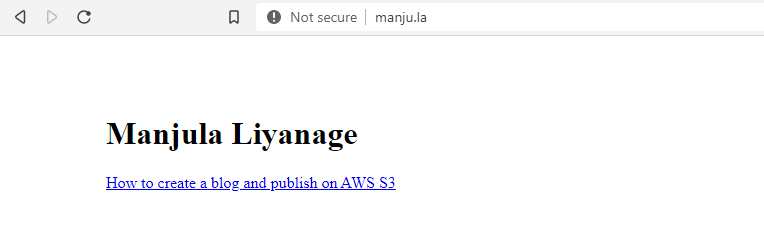
First, write something. Think of it as if you are taking notes for yourself. For me, it’s this article on how to publish a website on AWS.
Copy your notes to a simple HTML format and save the file as HTML. Create one more HTML file for the home page and add the hyperlink to the article file.
You can google how to create an HTML file if you don’t know it. Or follow a Youtube tutorial like this or this.
Check the video version of this post here
Buy a domain name
You can buy a domain name from the AWS domain registration option or buy it from namecheap.com. They have many fancy TLD (top-level domains).
Next, create an AWS account. It’s so easy, watch this if you don’t know.
Create an S3 bucket
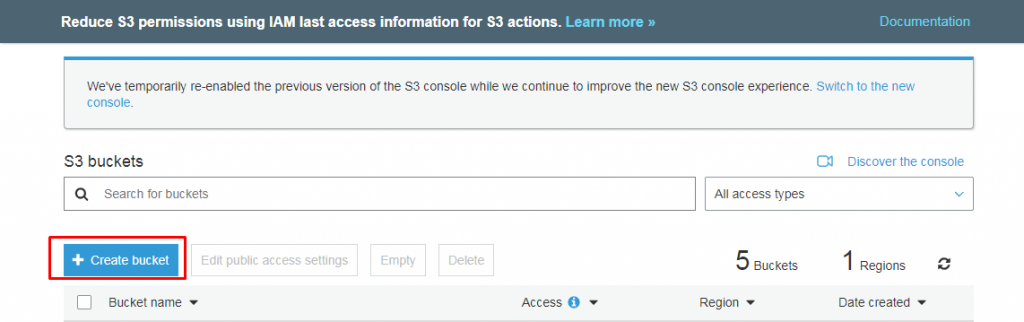
Go to services and find S3
Click on Create bucket
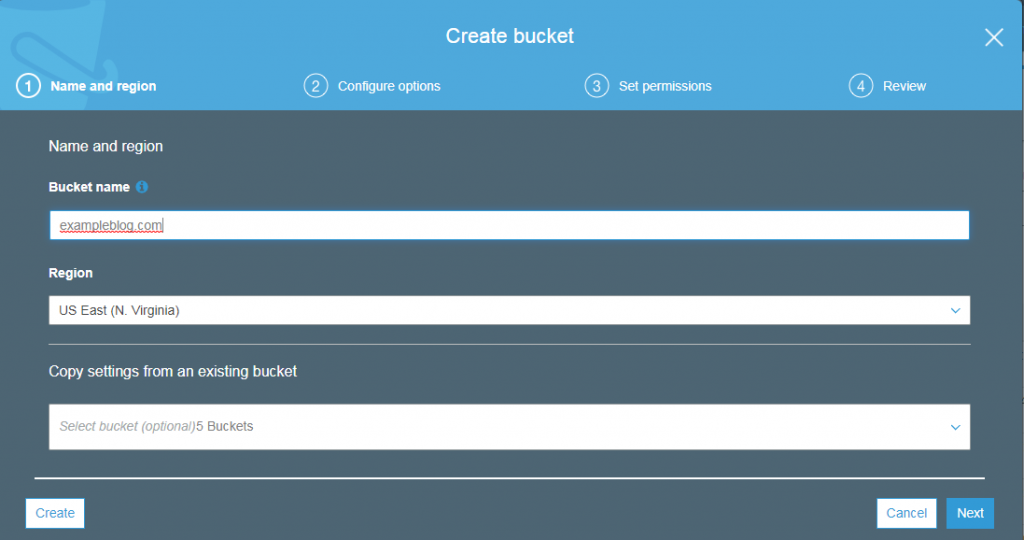
Provide a name for your bucket. Remember, for you to enable S3 hosting via Route 53, you have to provide the bucket name the same as your domain name. For example, if your domain name is exampleblog.com, your bucker name should be exampleblog.com. In my case, I have named it manju.la because my domain name is manju.la
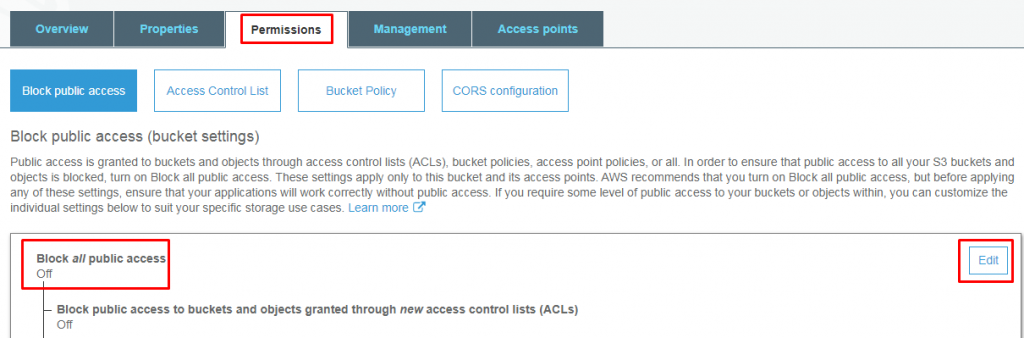
Go to the permissions tab and make sure to off block all public access. If it is on, click on the edit button, and then uncheck block all public access.
Upload your HTML files to the S3 bucket
After you created the bucket, click on the upload button, and then you can drag and drop your HTML files or browse and select your files.
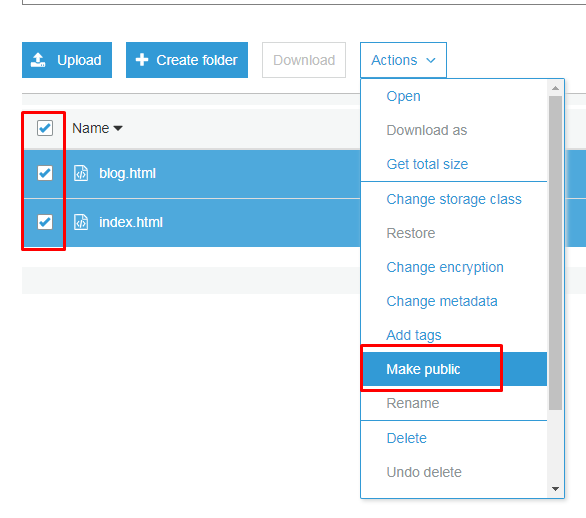
Make files public
Once the files are uploaded, select all the files and select Make public from the Actions drop-down option.
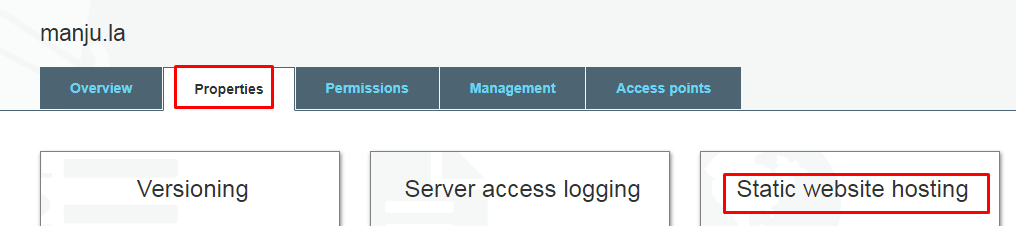
Enable static web hosting
Then go to the properties tab, select Static website hosting.
Select Use this bucket to host a website option. Provide index.html as the index document. Click on save and note the endpoint. You can click on this and see your web page.
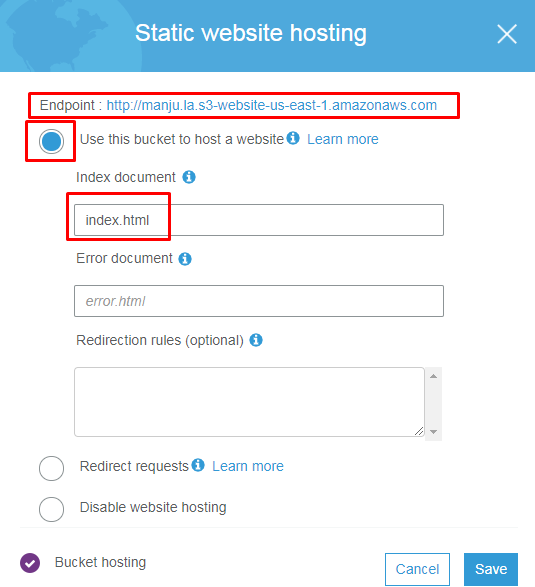
If you get access denied error when you browse your URL, go back to properties and check that block all public access is off.
Using Route 53
Now you need a nice name for your website rather than the weird lengthy URL. For that, you must register a domain name. If you don’t know what is a domain name and how DNS work, please check this.
Rout 53 is Amazons Domain Name System(DNS) which translate human readable domain name to machine readable IP addresses. For example amazon.com to 192.0.2.44
Learn more about Reote 53 https://aws.amazon.com/route53/what-is-dns/
Choose Route 53 from the service menu, Network & Content Delivery.
*Note – Route 53 is not free. It will cost you like 0.50$ a month.

Next, create a public hosted zone.
A public hosted zone is a container that holds information about how you want to route traffic on the internet for a specific domain or subdomain.
Inside the hosted zone, we define a set of records to tell AWS where to send traffic from domains or subdomains. In this case, we need to send the traffic to our S3 bucket.
Select “Create hosted zone” from the Route 53 dashboard.
Enter your domain name
Enter the optional description and click on create
Next, create an alias record to point the traffic to the S3
Click on “Create record”
Select Simple routing
Select Define Simple record
Select Alias to S3 website endpoint
Select the region and the S3 bucket (if your S3 bucket does not appear, make sure your S3 bucket name is the same as your domain name)
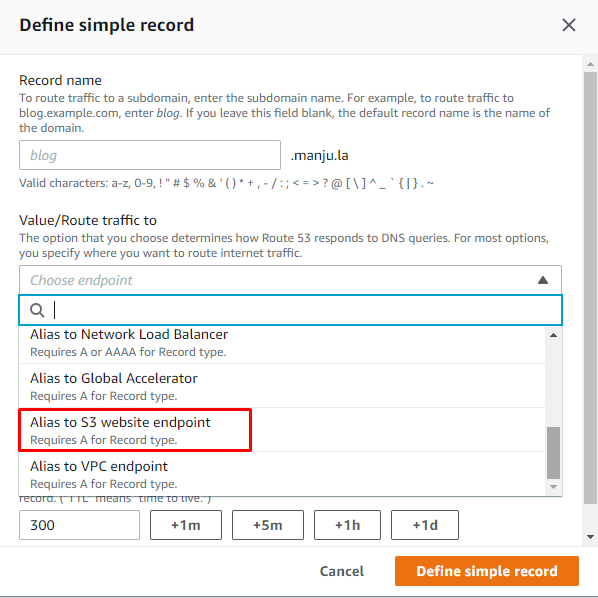
Click on define simple record
Click on create record
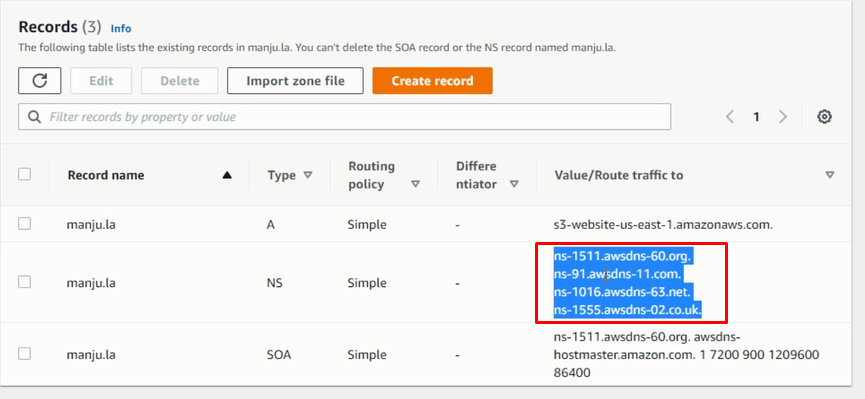
Now, your Route 53 configuration is completed.
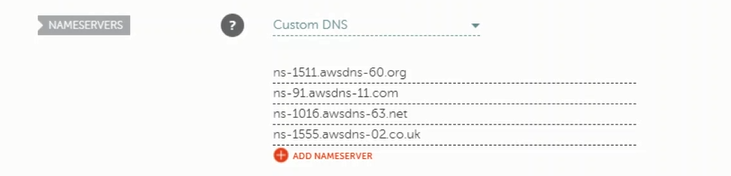
Next, you need to update AWS name servers in your domain name provider. For example, in my case it’s namecheap.com. So I have to update all 4 AWS name servers into the namecheap name servers section.
Select Namecheap custom domains.
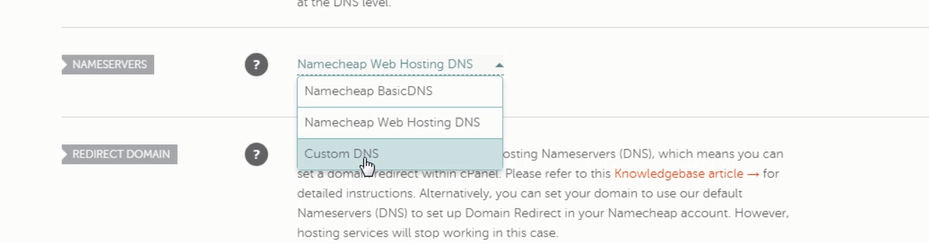
The UI could be slightly different from vendor to vendor, but you get the idea.
It will take some time to propagate this DNS change across the Internet. Sometimes it could take from a couple of minutes up to a day.
Now you can type in your domain name to the browser. If it doesn’t work, it must be a DNS issue, so wait for a little more time.
You also can check whether your domain name is updated or not from DNS lookup services like https://dnslookup.org/ or https://mxtoolbox.com/
After a couple of hours, my DNS started pointing to the correct destination.